5 Easy Dessert Recipe For Dinner Party

Topic: Easy Dessert Recipe For Dinner Party
When you cook a dinner at home on a day as special, although the simplest solution when it comes to dessert is to grab a tray of sweets bought at the supermarket.
5 Easy Dessert Recipe For Dinner Party
1) Frozen lemon cake and condensed milk
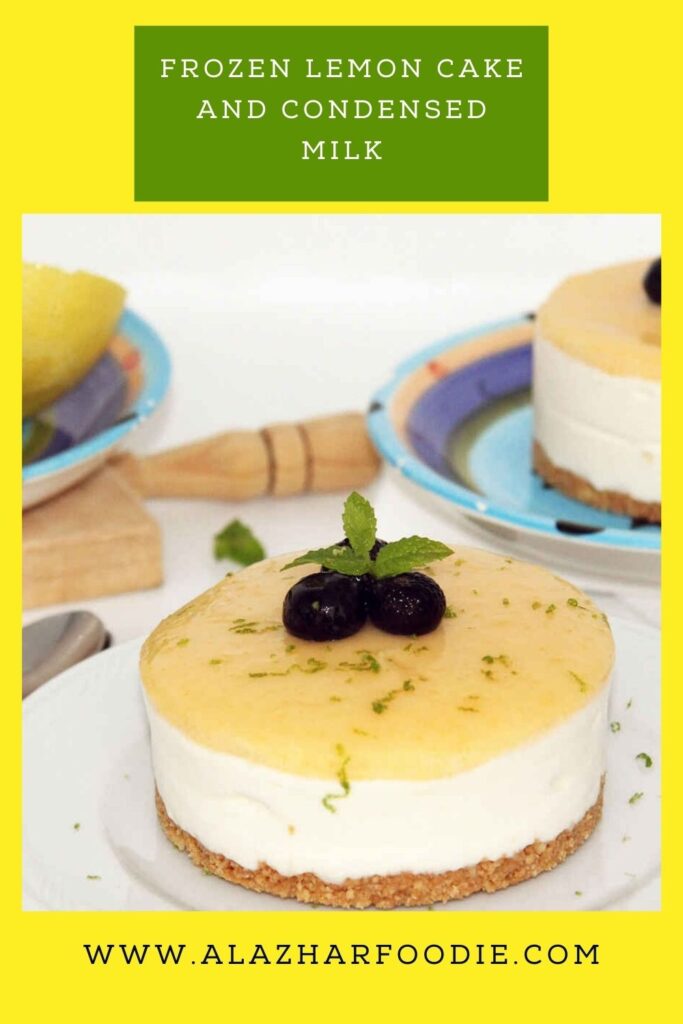
There is no dessert that we want more in summer than something fresh or ice cream and for this reason this cake is perfect for its marked and refreshing lemon flavor, and for its frozen texture. In addition, it has the advantage that we can prepare it in advance and it will be enough to remove it from the freezer a few minutes before serving it.
PrintFrozen lemon cake and condensed milk
This frozen lemon and condensed milk cake is going to become the most refreshing of the summer and the queen of the holidays.
- Prep Time: 20
- Total Time: 20 minutes
- Category: Dessert
- Cuisine: American
Ingredients
For the base
- Maria type cookies, 50 g
- Butter, 20 g
For the ice cream
- Evaporated milk (or cream), 210 g
- Condensed milk, 220 g
- Zest from the skin of 1 lemon
- Juice of 1 lemon
For the lemon curd cream
-
- Azúcar, 80 g
- 1 lemon peel
- Juice of 1 lemon
- Butter, 30 g
- Eggs, 1
Instructions
With these quantities, I have made three mini ice cream cakes of 10 cm in diameter. By doubling the quantities, you can make a cake with a diameter of 20 – 22 cm.
Although it cannot be said that this cake, we will be able to reduce some calories if we use evaporated milk instead of cream to make the ice cream, and the result will remain very creamy. We can’t always be counting calories, so go ahead and indulge yourself from time to time and give it a try!
Preparation of the frozen lemon cake and condensed milk with Thermomix (TM5)
01: Prepare the base of the cake and the molds
We start by deciding if we will prepare a single large cake of about 20 or 22 cm in diameter or several smaller ones. As I have already mentioned above, if you opt for the large cake, double the ingredients, and I recommend that you choose a removable mold.
On this occasion, I have chosen to prepare 3 individual mini cakes with round stainless steel plating rings of 10 cm each. They do not need to be greased or lined with greaseproof paper as they unmold easily.
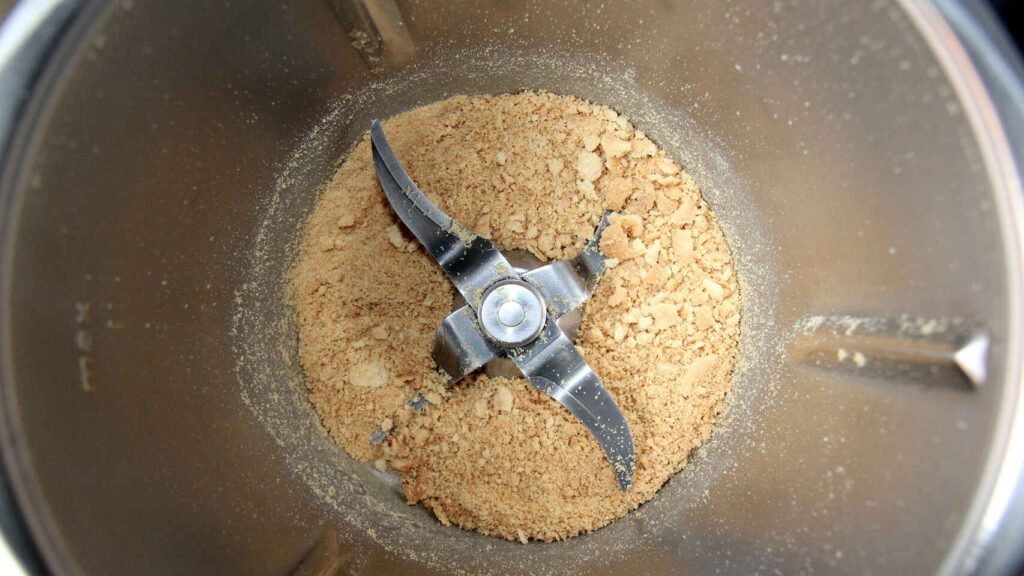
We are going to prepare the base of the cakes. To do this, pour the cookies into the Thermomix glass and crush them by programming 2 sec/speed 10. We reserve in a bowl.
We weigh the butter on the lid of the Thermomix and melt it in the microwave for a few seconds. When it is liquid, we pour it over the reserved bowl with the crushed cookies. We stir with a teaspoon so that the cookies are mixed with the butter until we have a texture of coarse sand.
We pour this mixture into the bottom of the chosen molds. We press the mixture with a fork or the bottom of a glass so that the layer compacts. We reserve the molds in the refrigerator.
02: Prepare the ice cream
To assemble the ice cream, we need the evaporated milk to be very cold. I have put it in the freezer for a few minutes, and I have also put the Thermomix glass in the refrigerator.
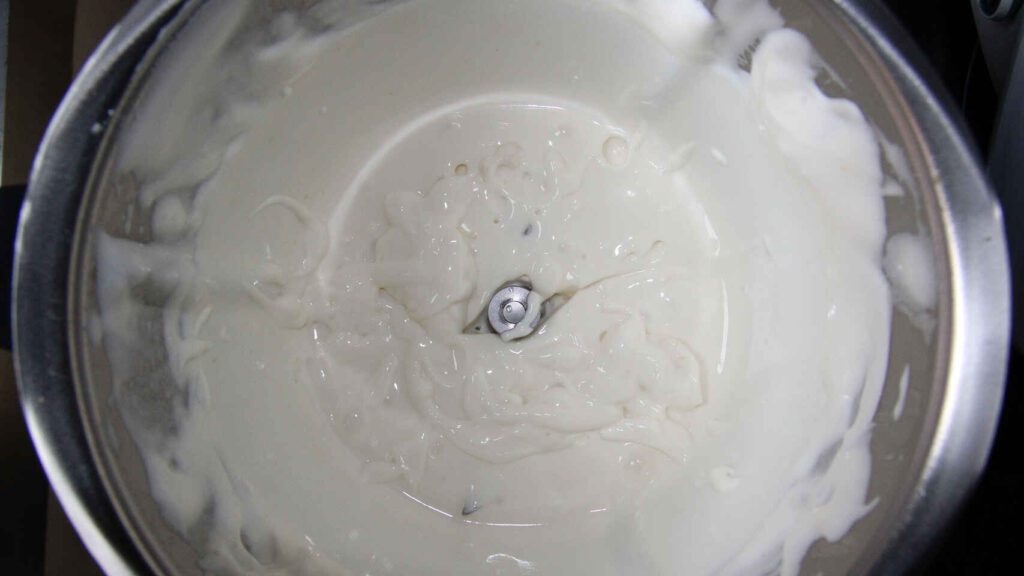
We put the butterfly on the blades, shake the evaporated milk container well and pour it into the glass. As if we were to whip cream, we set speed 3.5 without setting time. We will beat until it more or less doubles its volume; I have beaten it for 1 minute and a half.
Without removing the butterfly, add the condensed milk and the lemon zest. Mix by programming 15 sec/speed 3.5 without a beaker and add the lemon juice through the nozzle. When we finish, the cream will have thickened and will be creamy.
Pour the lemon cream on the cookie bases, which will have already cooled down. We smooth the surface and put it in the freezer for at least two or three hours until the cream is frozen.
03: Prepare the lemon curd or lemon cream
While we wait for the cream of the mini cakes to harden, we are going to prepare the lemon cream.
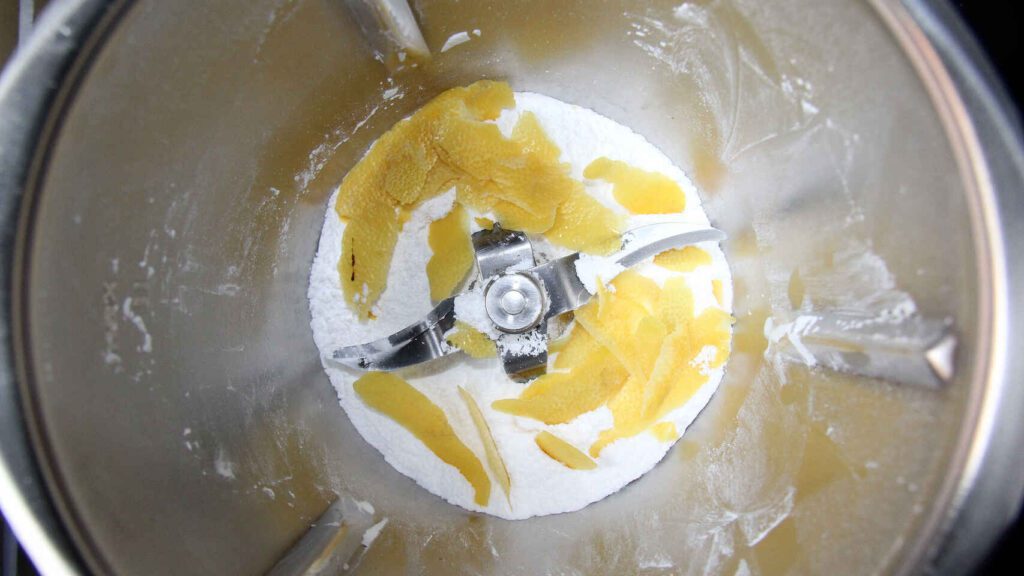
We wash and dry the Thermomix glass well. Pour the sugar and pulverize it, programming 15 sec/speed 5 to 10.
Add the lemon peel strips without any white part and grind 15 sec/speed 9.
Add the butter, which we will have at room temperature, and the lemon juice and mix by programming 1 min/speed 2.
Add the egg and mix 10 sec/speed 4.
Cook the mixture for 7 min / 80ºC / speed 2 .
Let cool and reserve until use in an airtight container in the fridge.
When the milk cream layer has frozen, we pour the lemon cream on top and put it back in the freezer again until this layer freezes.
04: Serve the frozen lemon cake and condensed milk
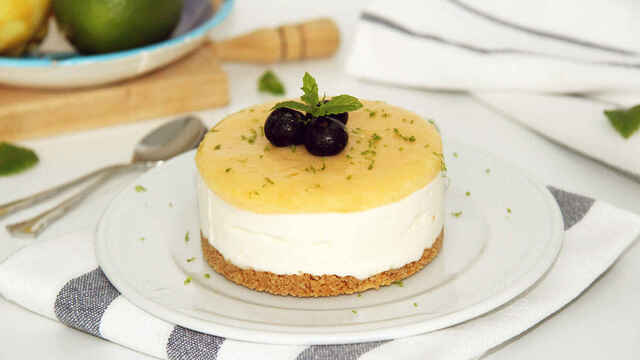
To serve the mini cakes, we take them out of the freezer a few minutes before and unmold them. Doing this will be enough to push the layer of cookies slightly from below until we notice that the whole is displaced, and then we will gently shake from top to bottom on the chosen plate until the cake falls under its weight.
We should not unmold them much before consumption; I like to do it approximately 15 minutes before because the cake over time ” faints”; after all, they are layers of cream without any gelling agent added. Give them body.
We decorate them to our liking, in this case with some fresh blueberries, mint, and a little lime zest to give it aroma and provide color contrast.
Nutrition
- Serving Size: 12
- Calories: 264 kcal
- Sugar: 21g
- Sodium: 104mg
- Fat: 13g
- Carbohydrates: 19g
- Fiber: 1g
- Protein: 2g
- Cholesterol: 58mg
And with little work and a little patience to wait for the layers to harden, we have a delicious and refreshing dessert ready.
I favor preparing several mini cakes instead of just one because they are more easily distributed among the diners. It is easier for me to find space in the freezer for several small ones than for one large one. If there are many of us at the table, we could also present these mini cakes in dessert glasses, and we would get more servings.
It is worth making more than the necessary amount of lemon curd or lemon curd cream because this cream is delicious and it is helpful for other preparations such as filling cakes or making cakes, for example. Also, well stored in an airtight container in the refrigerator, this cream keeps perfectly for a month.
2) White chocolate and yogurt mousse with peach jelly

Another refreshing dessert is white chocolate and yogurt mousse , digestive and easy to prepare with ingredients that you most likely already have at home or that will be very easy to find in any supermarket or store in your neighborhood.
PrintWhite chocolate and yogurt mousse with peach jelly
I love the desserts presented in glasses or glasses because they are very attractive on the table and are very easy to distribute among the guests.
Ingredients
- Gelatin, 1 sheet
- Whipping cream, 200 g (minimum 35% fat)
- White chocolate, 100 g
- Greek yogurt, 125 g
Instructions
We will prepare a very simple, creamy egg-free mousse, made with cream, white chocolate, and yogurt, which we will accompany with a base of peach jelly in syrup and that we will top with some small cubes of the same peach.
The contrast of colors is attractive and refreshing, and the set of flavors is very balanced.
Preparation of the white chocolate mousse and yogurt cups with peach jelly
01: Prepare the peach jelly, pour it into the glasses, and let it set
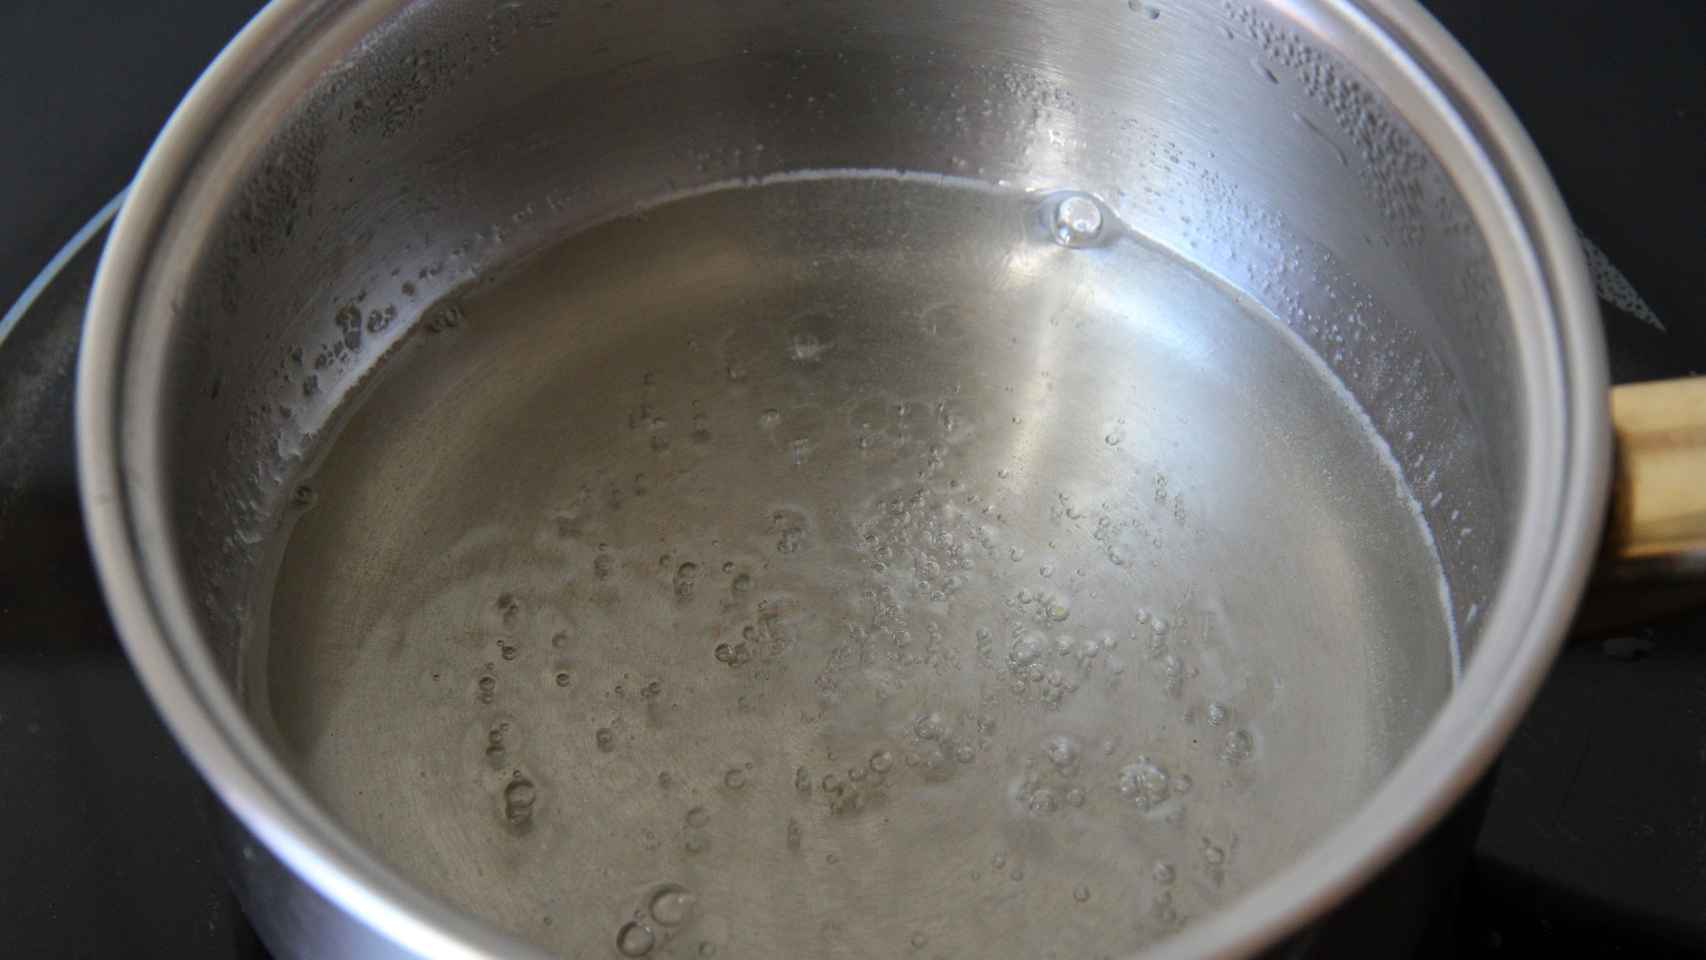
We start by preparing the peach jelly because it will be the base of the cups where we will present this dessert, and we need it to cool and set so that we can later pour the mousse on top and not spoil this base.
We hydrate the gelatin sheet in cold water following the manufacturer’s instructions. In my case, I have left it in the water for 10 minutes, hydrating.
We will prepare syrup; for this, we put a saucepan over medium heat, add the water and sugar and mix so that the sugar dissolves. Let it cook until the sugar is completely diluted in the water. Remove the saucepan from the heat and add the previously hydrated and well-drained gelatin sheet. We stir and mix until the gelatin is well integrated.
Pour the two peach halves and the syrup into the blender glass. We grind the whole until obtaining a fine puree texture.
We divide the mixture into 4 glasses or glasses and let it temper. Once they have lost heat, we reserve them in the refrigerator to cool completely and set.
02: Prepare the white chocolate and yogurt mousse
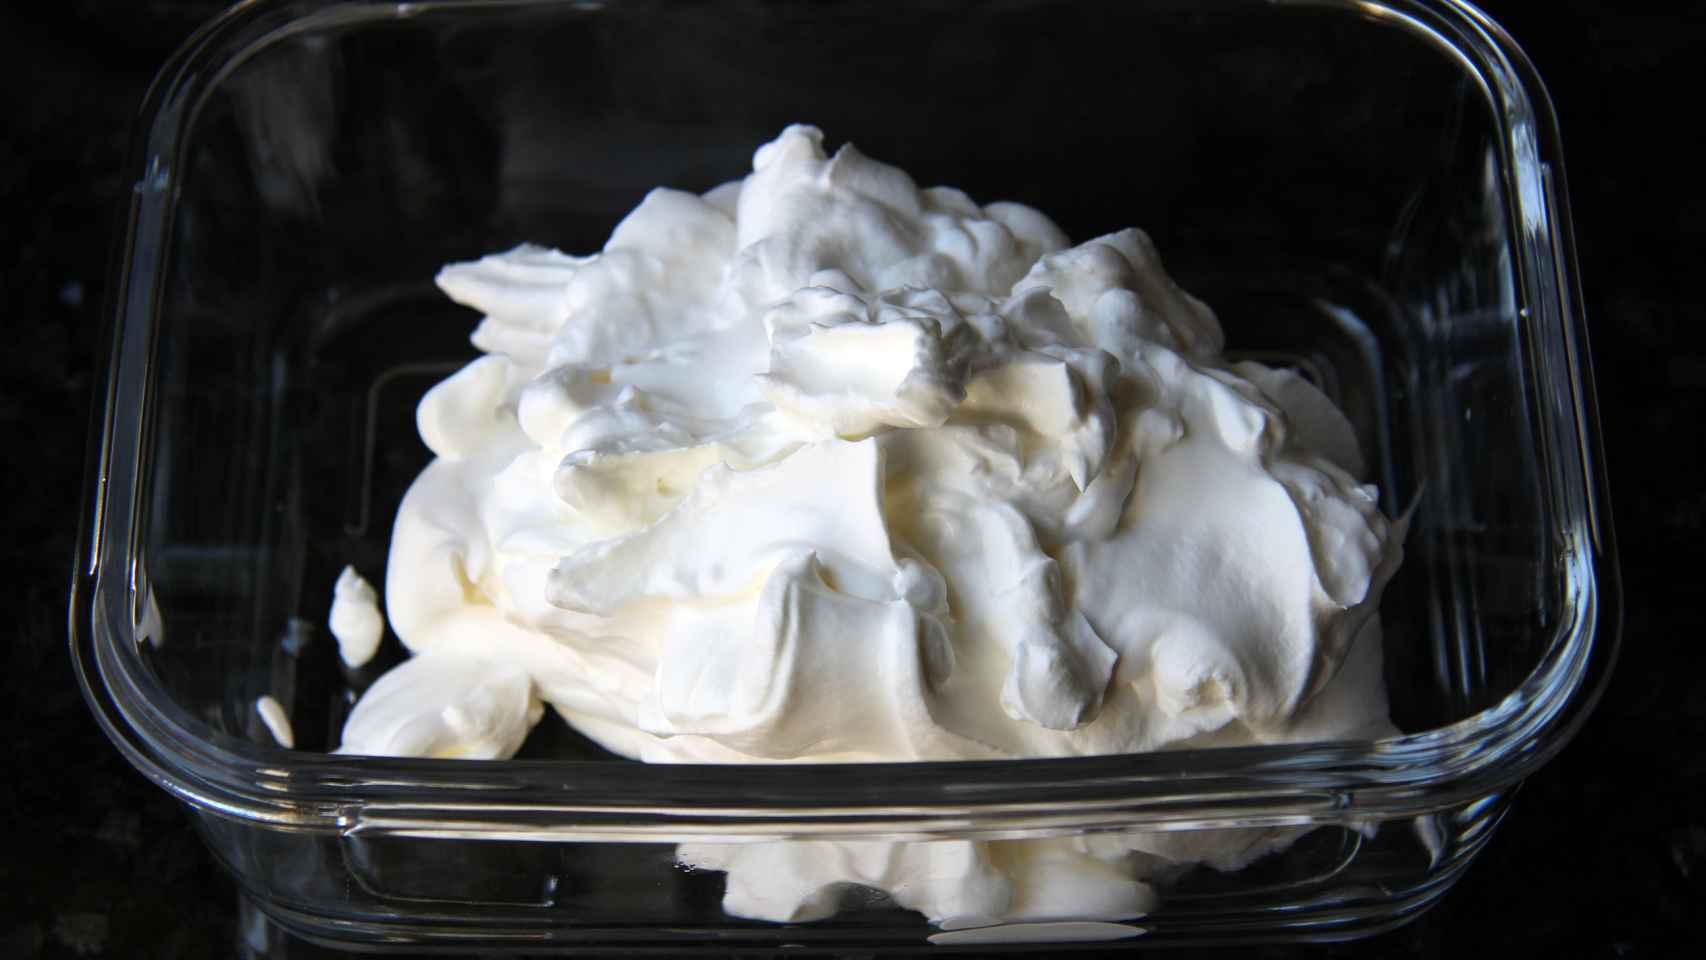
While the peach jelly is cooling, we continue with the recipe, and so by the time we finish preparing the mousse, the jelly will be perfectly curdled, and we can pour the mousse on top.
We hydrate the gelatin sheet in cold water, as in the previous step.
We whip the cream. We can do it by hand, with a wire mixer, or with a food processor. I have used the Thermomix, and for this, I have put the butterfly on the blades, I have added the icy cream to the glass, and I have beaten at speed 3.5 without programming time until it has been mounted. We reserve in the fridge.
While the gelatin is hydrated and the cream cools, we will melt the chopped white chocolate in the microwave or a double boiler. You have to be very careful with white chocolate because it burns quickly. If we do it in the microwave, we must use a microwave-safe container. We program 1 minute at 500 W; we take it out and stir until we have a creamy and homogeneous consistency. If necessary, we repeat the process at the same temperature in sequences of 30 seconds. If we do it in a water bath, we will need to heat it for about 5 minutes, stirring continuously.
When the chocolate is completely melted and creamy, add the hydrated and drained gelatin and mix with the help of some rods until it dissolves completely.
We let the chocolate temper a little. Add half of the yogurt; this will help us balance the temperatures and continue mixing with the rods until we achieve a uniform and shiny texture. Now add the rest of the yogurt and continue beating until a homogeneous cream is left.
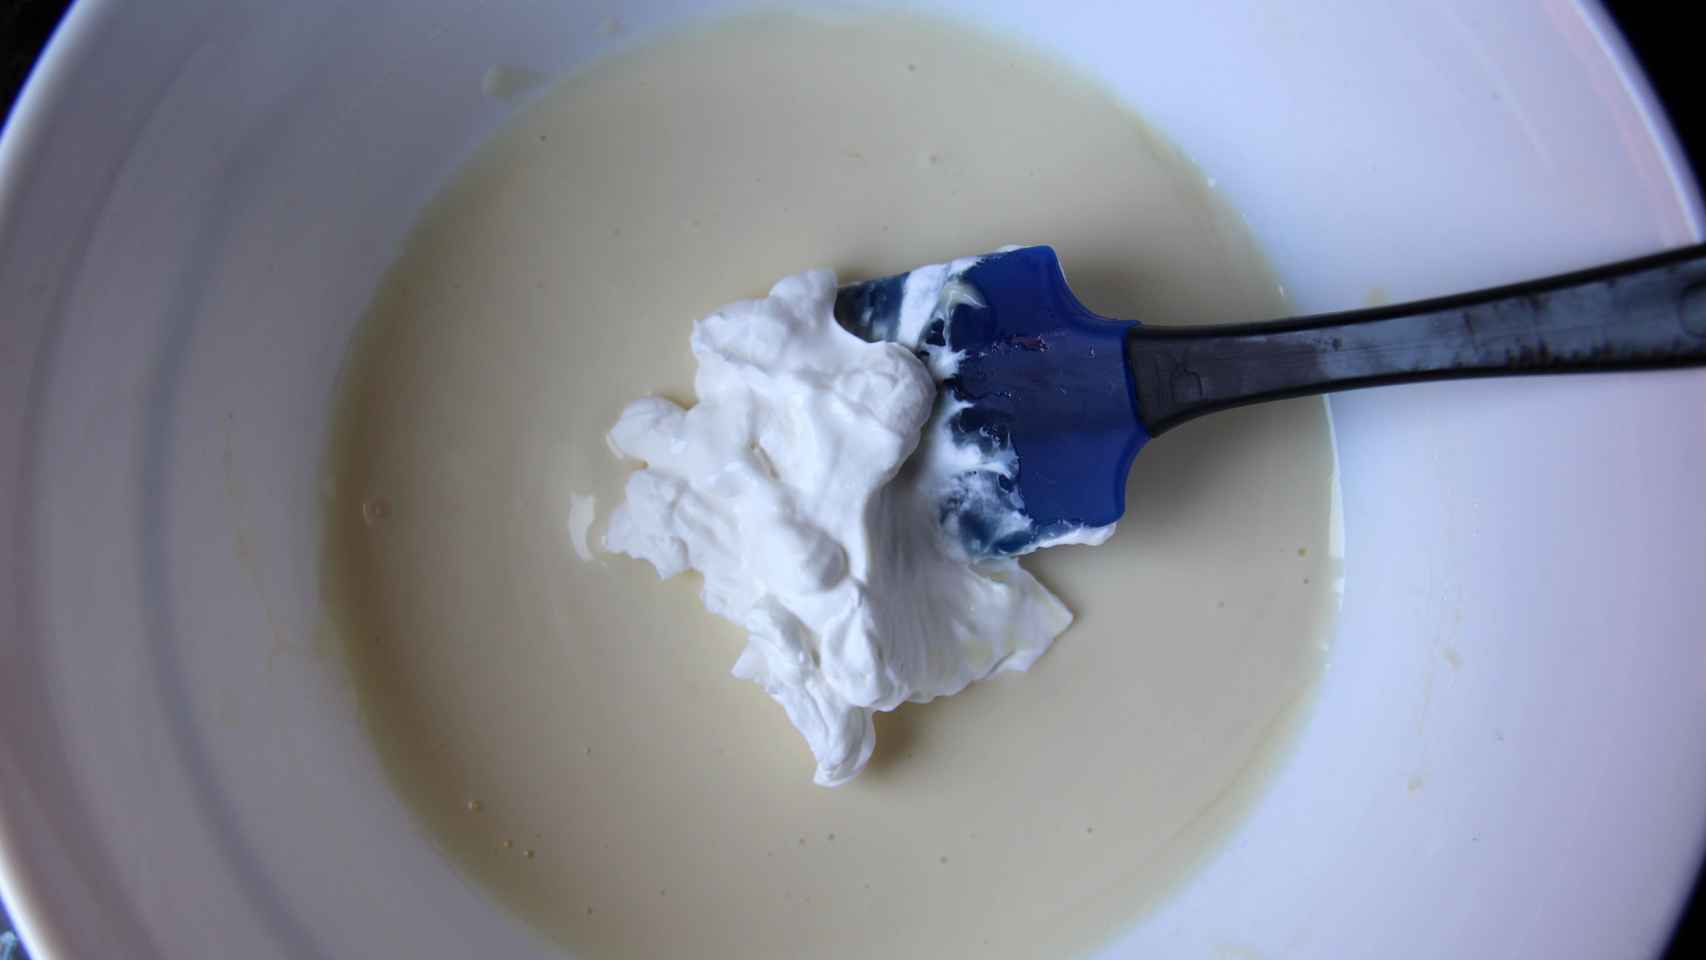
Now we are going to add the whipped cream to the mixture of chocolate and yogurt. We add a spoon of whipped cream to the bowl and integrate it with a spatula with enveloping movements. We continue adding the cream little by little, by tablespoons, and we will incorporate them gently so that the mixture remains aerated and the cream does not lose its volume.
We take out the cups that we had reserved in the refrigerator and spread the mousse over the cold gelatin without reaching the edge.
We cover the glasses with plastic wrap and reserve them again in the refrigerator for a minimum of two hours or until serving time.
03: Serve the glasses of white chocolate mousse and yogurt with peach jelly

We must remove our white chocolate mousse and yogurt with peach jelly glasses from the refrigerator about 15 minutes before being served so that they are cold but not too cold so that we can taste them with the perfect texture and in all their splendor.
When we serve the glasses, we add a few cubes of the peach in syrup that we had reserved over the mousse and decorate with some mint or spearmint leaves, which will give it a nice contrast in color and a refreshing aroma.
And we already have a colorful, refreshing and delicious dessert ready. These cups are very easy to prepare and are a perfect dessert when we have guests because they can be ready well in advance.
The peach in syrup was a must on American tables many years ago, well taken alone as an accompaniment to ice cream, cream or flan, but today it seems that it is a bit in the doldrums and is considered a somewhat old- fashioned dessert . With this preparation, we will give a very dignified exit to that can that is going around the closet.
In peach season we can substitute the peach in syrup for natural peach, but then we will need to double the amount of water and sugar to make the syrup.
3) Edible Cheesecake and Oreo Pots
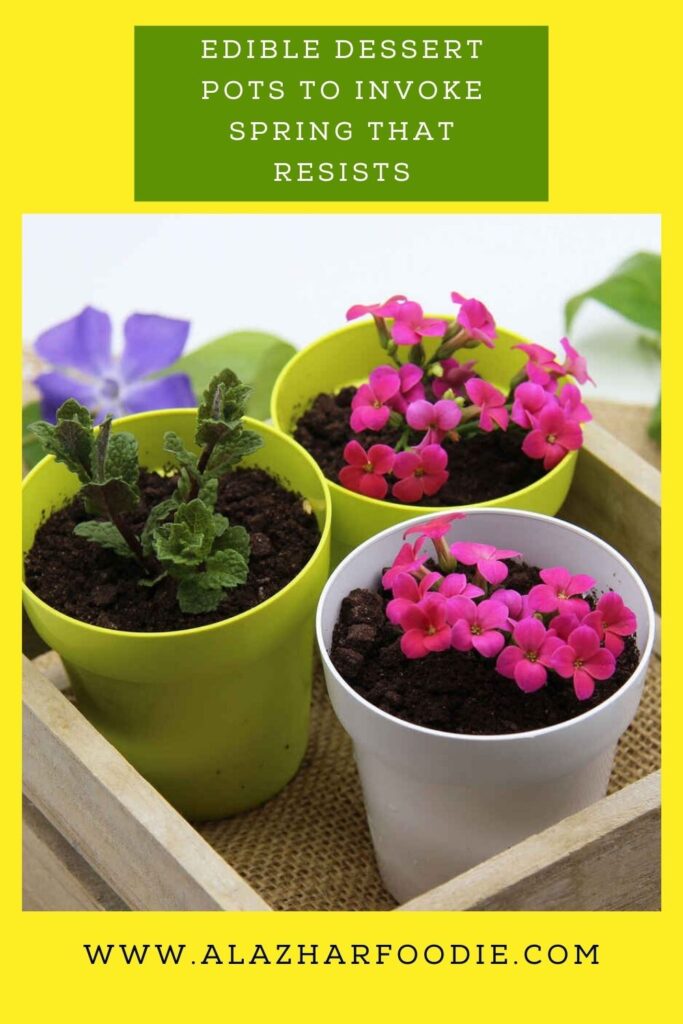
If you do not find edible flowers you can use some candy that are showy in these edible pots , which may seem like an elaborate dessert, but when you read the recipe you will see that it is an easy to prepare treat that is very difficult to resist.
PrintEdible Cheesecake and Oreo Pots
Learn how to make these delicious Oreo Cheesecake Edible Pots. This will make the wait for good weather more bearable.
Since spring has arrived, at least officially, I wanted to surprise them at home with a dessert that is not what it seems.
Ingredients
For the base
- Oreo cookies, 50 g
- Butter, 20 g (at room temperature)
For the filling cream
- Cream cheese, 200 g
- Mounting cream, 200 g
- Azúcar, 40 g
- Cream of cookies Oreo Milk, 75 g
- Gelatin, 2 sheets
For coverage
- Oreo cookies, 100 g
- Mint leaves and flowers, to decorate
Instructions
We can substitute the base of biscuits and butter for sponge cakes, or soba’s that we will cut to the size of the bottom of our pots.
This dessert is a surprise for our guests because when we present it to them, they will see a beautiful pot, and they will not think that it is the dessert and even less that it hides a delicious cheesecake with Oreo cookies.
It is a striking and easy-to-make dessert that will appeal to young and old alike.
Making the Edible Cheesecake and Oreo Pots
01: Prepare the base by crushing the cookies
First of all, we must wash the pots very well inside and out to remove any rest since we will use them as food containers. In any case, I have preferred to use new pots, well washed, of course.
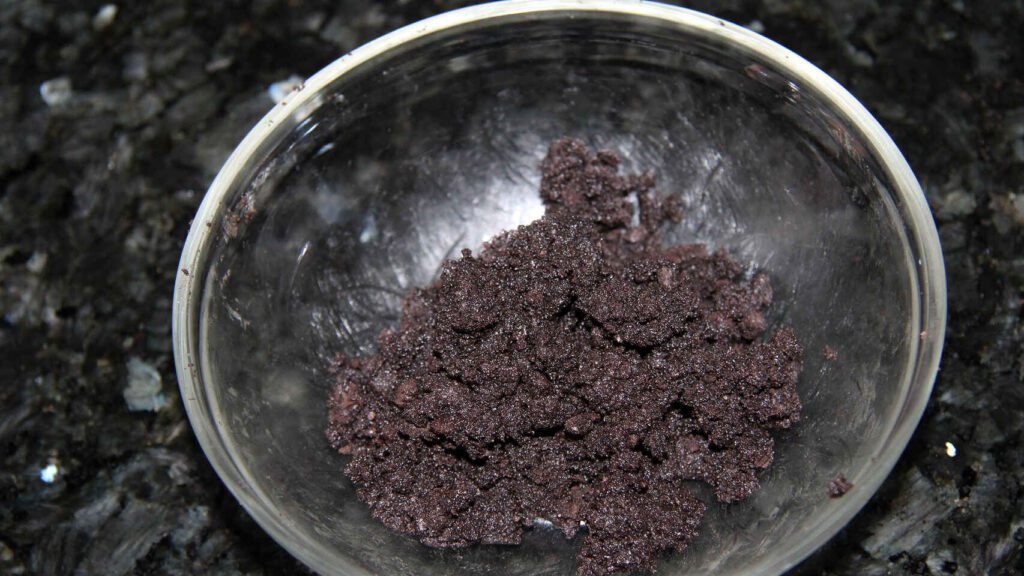
We are going to start making the cake by crushing the cookies without the filling cream. To do this, we separate the two black cookies that form the Oreo cookie and remove the filling cream. We reserve this cream to later incorporate it into the cream cheese.
We put all the cookies in a zip-lock plastic bag and crush them by rolling over them. This step can be done with a grinder or a kitchen robot, but with the bag and the roller, they look great, with the earthy look we need.
These crushed cookies will serve us on the one hand as the base of the cake, mixing them with the butter, and on the other as the soil from the pot, which we will spread at the end on top.
We put a third of the biscuit powder in a bowl and add the butter, which we will have at room temperature. Mix well, as it is best done by hand, and reserve about 10 minutes in the fridge; thus, the mixture will harden as the butter cools. If we present this dessert in real pots, these have small holes at the bottom to drain the plants, and if the mixture is not hardened, part of the cookie base could escape through them.
When we notice the mixture already hardened, we pour a few tablespoons to line the base of our pots. We apply pressure so that the base is well compact; I have used a cork to do it.
We reserve the pots in the fridge while we continue.
02: Make the cream cheese that will serve as a filling
We hydrate the gelatin sheets following the manufacturer’s instructions. In my case, I have soaked them in cold water for 10 minutes.
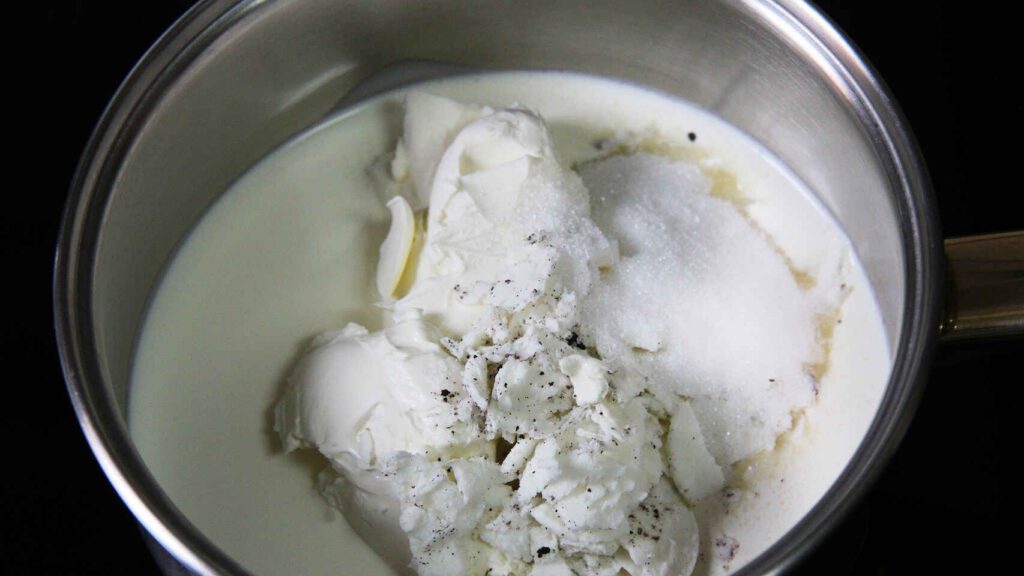
Pour in a saucepan the cream, milk, sugar, spread cheese, and the cream of the cookies that we removed in the previous step.
We put the saucepan over medium-high heat, and we stir with some rods. Add the previously hydrated and drained gelatin sheets. We lower the heat to medium temperature since it is very important that the mixture does not boil, and we continue stirring for a few minutes until all the ingredients are mixed well. When the mixture acquires a creamy and homogeneous texture, remove it from the heat. We let it rest for a few minutes.
When the cream cheese has tempered, we pour it carefully inside the pots, on the base of cookies. I advise you to pour the cream on the back of a spoon to fall more smoothly and the biscuit base does not rise.
We put the pots in the refrigerator to cool, the filling set, and its texture thickens. We let them rest for about 3 hours. If you are in a hurry, you can put them in the freezer for half an hour to speed up the process.
03: Assembling the pots
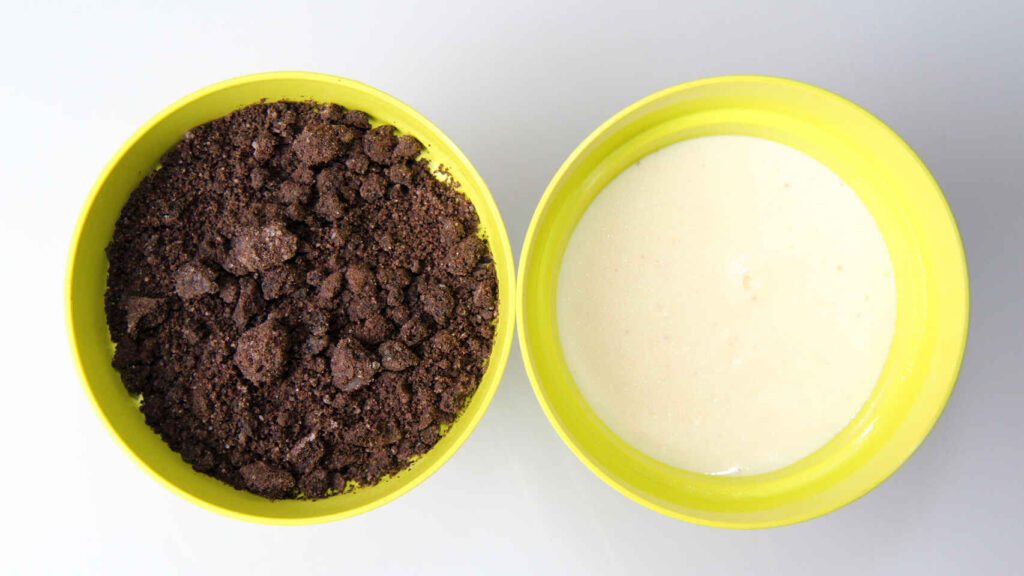
We take the pots out of the refrigerator and sprinkle them with the crushed cookies that we had reserved, adding a good layer that covers the cream’s white. This layer will simulate the soil in our pots. For effect to be more real, the cookies should not be completely crushed, but some thick pieces simulate clods of earth.
04: Serve the edible pots of cheesecake and Oreo

Before serving our pots, we give them the fun and spring touch, planting some aromatic herbs and flowers in the ground, simulating the field in spring.
Conveniently, we wrap the stems of the flowers with transparent film so that they do not give off any liquid that ruins the flavor of our cream. We will avoid this step if we use plastic flowers, but I prefer natural ones. Ideally, they would be edible flowers, but this time I did not have them, and I used these little flowers of a Kalanchoe and some mint leaves.
They are also very attractive if we decorate them with some mint leaves and some red fruits, such as raspberries or strawberries.
We serve the cheesecake and Oreo in a pot very cold, without saying anything.
As you can see, these pots do not have any complications either in terms of ingredients or in terms of preparation, and they are also delicious. They will be a fun surprise for our guests, the flowers mislead a lot.
Another possibility of filling these pots is to do it with ice cream (homemade or commercial). In this case, we would reserve in the freezer and also decorate when serving.
We can also present this cake in small glasses instead of in pots, but in this case, to keep it surprising, we should tint the cream cheese with a few tablespoons of cocoa, or substitute the cream for another brown preparation, such as a mousse. of dark chocolate, for example.
4) Catalan mango cream

An irresistible Catalan cream with its crunchy caramel crust that hides the delicate aroma and refreshing taste of mango. You don’t have to tell your guests the secret.
PrintCatalan mango cream
This Catalan mango cream is a dessert that you are going to enjoy a lot. Go ahead and do it at home and tell us how it turned out.
I still can’t resist sweet recipes, but at least I’m getting them to have fruit in their composition. We are going to make a Catalan mango cream that is really soft, sweet and with a delicious mango flavor, and how could it be otherwise, it will have its corresponding thin layer of crunchy caramel.
- Prep Time: 35
- Total Time: 35 minutes
Ingredients
- Mango pulp, 250 g
- Evaporated milk or whole milk, 210 g
- Cinnamon stick, 1 (*)
- Orange peel, 1/2 orange (**)
- Sugar, 40 g
- Egg yolks, 2
- Cornstarch, 30 g
- Sugar, to sprinkle and burn
(*) If you don’t have cinnamon, you can substitute half a teaspoon of ground cinnamon.
(**) You can substitute the orange peel for lemon peel, or combine both flavors and add the peel of half of the two fruits.
Instructions
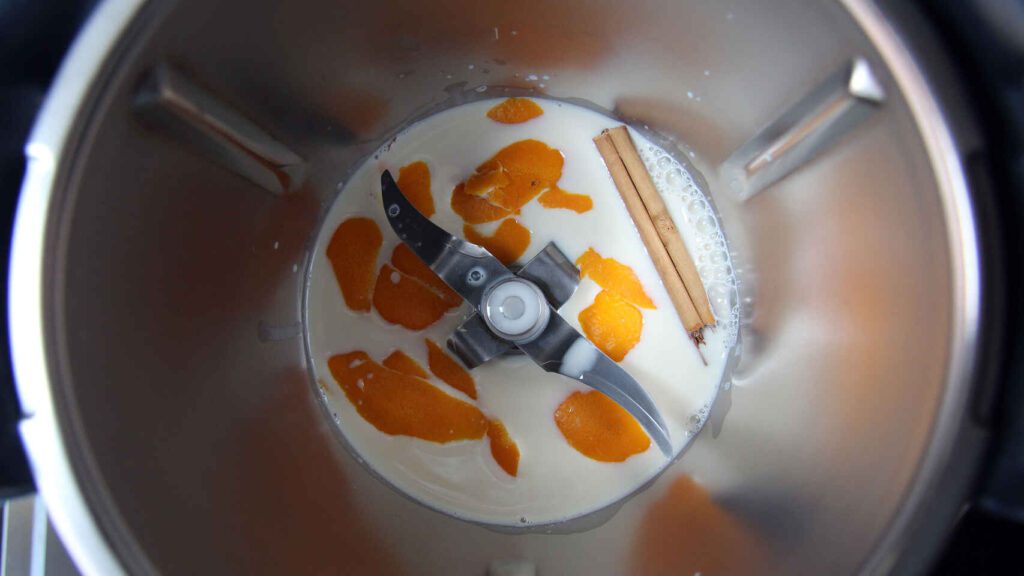
Prepare the milk infusion with cinnamon and orange
We wash the orange (and the lemon, if we are going to use it) well with warm water and a brush to eliminate the external treatment they give these citrus fruits to make them more shiny. With the help of a sharp peeler or knife, we peel the orange avoiding the little white skin that is under the skin as it could make the preparation bitter.
Pour the evaporated milk into the Thermomix glass, along with the cinnamon stick and the orange peels (and lemon). Heat by programming 10 min / 90ºC / spoon speed, turn to the left .
We reserve in a covered bowl and let the mixture infuse and cool while we continue with the recipe.
We wash the glass.
We peel the mango, separate its pulp and reserve it.
We separate the whites from the yolks. We reserve the egg whites for another preparation.
We put the butterfly on the blades and pour the yolks and sugar into the Thermomix glass. Mix to whiten by programming 5 min / 37ºC / speed 3.5 . The mixture will be very light and will have increased in volume.
Add the cornstarch and mix well 30 sec / speed 1.5 . We remove the butterfly.
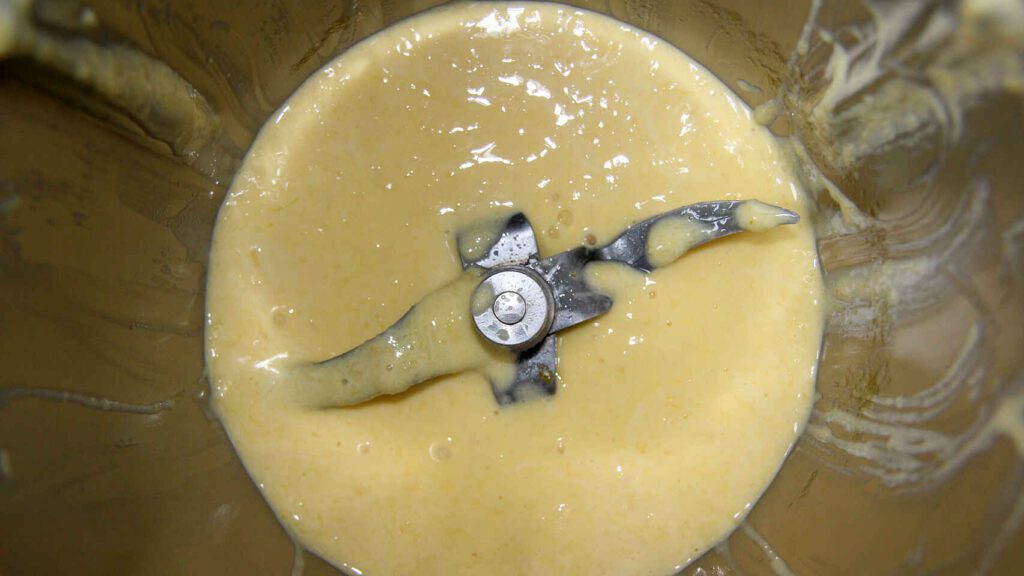
Add the mango pulp and grind the whole, programming 30 sec / speed progressive 5-7 . With the spatula we lower the remains of the mixture that have remained on the walls and we crush again 30 sec / progressive speed 5-7 . We check that there are no lumps in the mixture.
We place a strainer over the Thermomix glass and strain the milk infusion that we had reserved. Heat the mixture 10 min / 90ºC / speed 3 . When the time is up we check the thickness and if we want them a little thicker we program another 2 minutes at the same speed, but this time without temperature.
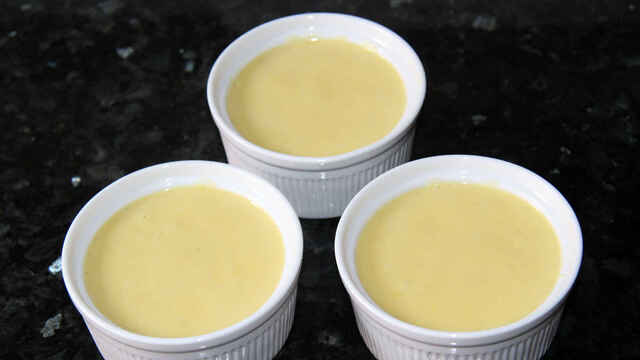
We distribute the mixture in the containers that we have chosen to serve the Catalan mango cream. Let it cold down.
When the cream is completely cold, we cover it with plastic wrap and put the containers in the refrigerator for a few hours to set. You can prepare them the day before and they will be even richer, since they win with rest.
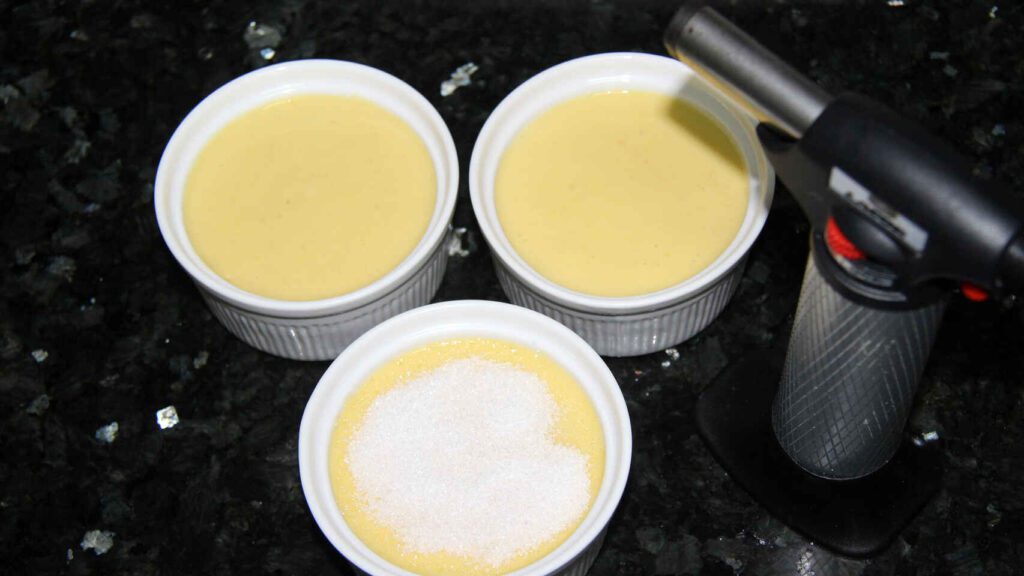
At the moment of serving, we sprinkle the cream with plenty of sugar and we burn it with the help of a kitchen torch so that a thin layer of crunchy caramel is created.
We immediately serve our Catalan mango cream to taste the crunchy sugar layer in contrast to the mellowness of the mango cream.
If you have any leftover Catalan cream, keep it in the refrigerator but without adding or caramelizing the sugar; If you have already done it, nothing happens, it will also be rich but it will lose the grace of the contrast of textures because the layer of crystallized sugar will dissolve and turn into liquid caramel.
Nutrition
- Serving Size: 3
If you like sweet desserts prepared with custard-type eggs, pastry cream, or flan, you will love this Catalan mango cream. Cooked in this way, it is very soft and without lumps, a delight that will please young and old.
If you have been unlucky enough to have the Catalan cream cut off, the Thermomix book advises adding 1/4 of the glass of cold milk and program 2 min/speed 2. The truth is that I cannot guarantee that it works because It has happened, and I have not had to resort to it, but in case it is the case, and it helps you.
The whites that we do not use in this preparation can be reserved for other recipes, such as to make delicious vanilla meringues or tasty vanilla macarons.
And if you prefer to prepare the traditional Catalan cream, we suggest you prepare it in just 8 minutes and in the microwave.
5) Mojito mousse, easy dessert recipe for dinner party
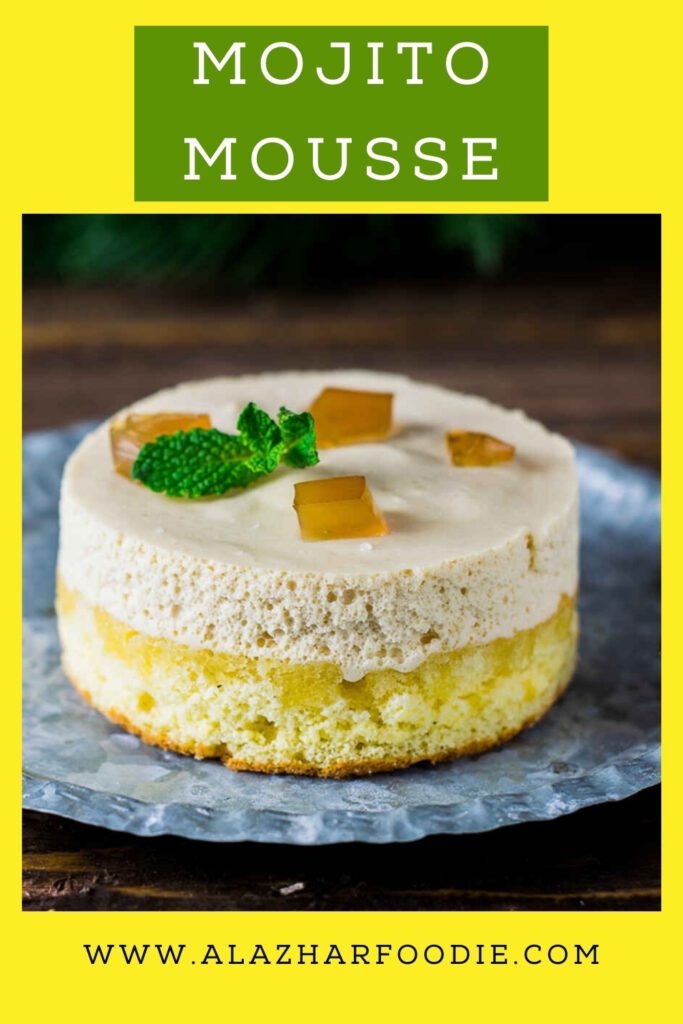
One of my favorite recipes for easy desserts for the end of the year dinner, because in a way it is quite a statement of intent about the whole party that will come after. Of course, like any dessert that has mint or a citrus fruit, it is highly digestive and goes great after a hearty dinner. So score this mojito mousse .
PrintMojito mousse, easy dessert recipe for dinner party
Surprise everyone at dinner party by serving the first drink of the night Mojito mousse, easy dessert recipe for dinner party for dessert and to be eaten with a spoon with this mojito mousse.
- Prep Time: 60
- Cook Time: 30
- Total Time: 1 hour 30 minutes
Ingredients
For the rum jelly
- Gelatin sheets, 7 pcs
- Aged rum, 300 ml
- Brown sugar, 140 g
For the Genoese sponge cake
- Eggs M, 4 pcs.
- Loose pastry flour, 125 g
- White sugar, 125 g
- Vanilla paste, 1 teaspoon
For the lime and mint mousse
- Files, 3 pcs.
- Spearmint, 10 leaves
- Mascarpone cheese, 300 g
- Pasteurized egg whites, 100 g
- Salt, 1 pinch
Instructions
Preparation of the mojito mouse
01: Making the rum jelly
For the decoration of the mousse mojito, we will use rum jelly. First of all, we will soak 3 gelatin sheets in cold water. We then put 150 ml of rum with 2 tablespoons of brown sugar; I used panela to heat in the microwave slightly until the sugar has dissolved. In my case, as I wanted the flavor of the rum and the alcohol to remain as long as possible, what I did was to heat it slightly. If you want the alcohol to evaporate completely, bring it to a boil. Next, and when it is warm but does not burn, we add the drained gelatin sheets. Mix well with the help of some rods until the gelatin dissolves. We arrange it in a flat container and let it cool down to room temperature. Next, refrigerate for about 2 or 3 hours as the gelatin should solidify.
02: Making the cake
For the base of the mousse, we will use a Genoese sponge cake as a base. It is one of the simplest cakes to prepare, and that brings more versatility to our preparations. In this case, we want a cake sheet as thin as possible. For this reason, I recommend making it in a rectangular tray of about 30 × 40 cm. First of all, we put the 4 eggs that should be at room temperature in a bowl together with the sugar, the vanilla paste, and a pinch of salt. We beat vigorously at high speed for about 10 or 12 minutes. The eggs, when beating, must triple in size and be tapered; that is, when lifting the rods, the dough that falls leaves a slight trace or thread on the rest and remains for a few seconds without sinking.
At that point, we will sift the flour and pour it into three batches with the help of a spatula. We will remove the envelopes with a movement and very carefully so that not much air escapes from the dough until the flour is integrated.
03: Baking
Pour into a mold lined with parchment paper and bake with the oven preheated to 180ºC for 20 minutes with heat up and down. After that time, we prick with a toothpick to check if it is already cooked. Let it cool for 10 minutes on a rack and carefully unmold it to not get excess moisture. Let cool completely on the rack while we make the mousse.
04: Preparation of the mousse
In a saucepan, we put the rest of the brown sugar together with the rum. When the sugar begins to dissolve, the rum starts to boil, remove from the heat, and put the previously washed mint leaves to infuse. We also add the juice of the 3 limes and stir well. Then we strain our preparation and add the 4 gelatin sheets that we will have previously hydrated in cold water. We stir vigorously until the gelatin has dissolved. Once the mixture has warmed up and is not too hot, we add the mascarpone cheese. We mix well with the help of a rod until it has been perfectly integrated. They should not be lumps since otherwise, our mousse will not be soft.
On the other hand, in a clean bowl of any fat (we can pass a napkin with lemon throughout the bowl to eliminate traces of fat and in the electric rods),, we begin to mount the whites to the point of snow with a pinch of salt. Once they have assembled and are firm, add to the cream cheese, rum, and lime that we have reserved and incorporate with enveloping movements with the help of a spatula. Next, we arrange the mousse in a pastry bag.
05: Assembly
With the cake already cold, we will cut with the help of a metal ring to plate the bases. For the assembly, we will use some acetate strips and the same plating rings. On a plate, we arrange the ring lined with the acetate strip and inside it the layer of sponge cake that we will have previously cut. Later we fill with the mousse that we have in the sleeve. Refrigerate for a minimum of 8 hours.
06: Serve
When we go to serve this delicious mojito mousse, I recommend that you put them in the freezer for 45 minutes so that when we unmold the ring and the acetate, we have 10. Once they get cold, it is much easier to remove the acetate without taking half Mousse. Once removed from the mold, we decorate with the rum jelly that we had previously, cooling to our liking with some mint leaves. A fresh and citrus smell will creep into your table, and you will be looking forward to trying this mojito mousse right away.
Nutrition
- Serving Size: 6
As you can see, the result is a very appetizing mousse that just by looking at it makes you want to sink your teeth into it. If you look closely, the texture is very foamy, and I assure you that in the mouth, it is very smooth and delicious. The flavor of the lime, the freshness of the mint, and the point that the aged rum gives it make this dessert a real delight to finish any festive meal or dinner. Remember that this mojito mousse contains alcohol unless it evaporates completely, as I have mentioned, and you must take this detail into account. If you don’t have pasteurized whites, you can use normal whites. However, with preparations where the egg is not cooked, I prefer to be very cautious.
Advice and suggestions
To make the Genoese sponge cake, if you can’t find vanilla in the paste or if you prefer a different aroma, you just have to change it for grated lime or any citrus fruit. This step is very important since if you do not add anything else, the cake will have an egg flavor that will not be pleasant at all.
As a tip, I will also tell you that if you do not have plating rings or acetate strips, you can do it in a much easier way. In some nice glasses that we have, we arrange the cake at the bottom and then fill it with a few pieces of gelatin. Then we pour the mousse on top until completely filled and refrigerate for 8 hours. As you can see, it is not necessary to have large utensils to make this type of dessert. However, if you want to be more sophisticated, use the molds and acetate strips for assembly. The latter, you can get them in specialized confectionery stores without further complication.
Frequently Asked Question:
Can you freeze desserts made with sweetened condensed milk?
Unlike evaporated milk, sweet condensed milk does not freeze solid. It is due to its sugar content. It becomes much thicker, but you can always pour it, albeit slowly.
Can lemon squares be frozen?
Freezing instructions: Lemon bars can be frozen up to 3-4 months. Cut the cooled bars (no confectioner sugar) in squares, then place it on a pastry plate. Freeze for 1 hour. Individually envelop each bar in an aluminum sheet or a plastic film and place it in a large bag or a freezer container to freeze.
How do you defrost lemon bars?
Deficinating lemon bars is easy. Just take the desired number of lemon bars out of the freezer and let them thaw at night in the refrigerator. Do not think about the remains, especially if the lemon bars have been made with condensed milk! Once the lemon bars are thawed, they are ready to serve.
Can you freeze opened sweetened condensed milk?
It can freeze the condensed milk in a clean hermetic container (Note that it will not administer the solid due to the sugar content) up to 3 months. Dexpose milk overnight in the fridge. If it separates slightly, a brief whip or a vigorous shake in a well sealed container still had to restart the consistency.
Does condensed milk harden in the fridge?
The condensed milk may not be difficult in the refrigerator by itself, but it closes considerably. It is very versato at room temperature, but it is almost too viscous pouring once fresh. The crushed cookie absorbs the most liquid components of condensed milk, leaving these components that are closed to do so.
Why do my lemon bars look eggy?
When you promise the lemon or lime, you do not want to mix the air, which will, then collapse. You do not want to cover it too much, because it will burn you like scrambled eggs. It has not mentioned if the curd is made of oven or oven at the top of the bark layer.
Can you freeze krusteaz lemon bars?
After walking the bars, place them in a freezer bag. Remove the excess air, then seal the bag. Label and leave, then place it in the freezer where the bars will not be overwritten. The lemon bars freeze for months, but are preferable if they are consumed within 6 months of gel.
Do lemon bars need to be refrigerated?
Since lemon bars are essentially an English cream, they must be refrigerated if it will not be served on the same day, or if you need to store the remnants. However, they will remain at room temperature for several hours if they are in a service tray at a party, for example.
Can you store condensed milk in the freezer?
First, the milk stores condensed as a dream. It will remain in the refrigerator for approximately one month, or more in the freezer. Simply be sure to transfer the waste liquid out of the box and in a bottle or other sealed container first.
How long does condensed milk take to freeze?
Leave the condensed milk to freeze for about two hours. After the condensed milk is solid, take a tray of ice cubes from the refrigerator. Slowly transfer the condensed milk cubes into a recyclable plastic bag.
Recommended recipes you may like:
Oreo Ice Cream Cake Recipe Easy
White Chocolate Mousse Filling Recipe


Pingback: Dallas BBQ Sticky Wing Recipe » Al Azhar Foodie
Pingback: How Long Does Asparagus Keep? » Al Azhar Foodie