Edible Cheesecake and Oreo Pots

Learn how to make these delicious Oreo Cheesecake Edible Pots. This will make the wait for good weather more bearable.
Since spring has arrived, at least officially, I wanted to surprise them at home with a dessert that is not what it seems.
Ingredients
For the base
- Oreo cookies, 50 g
- Butter, 20 g (at room temperature)
For the filling cream
- Cream cheese, 200 g
- Mounting cream, 200 g
- Azúcar, 40 g
- Cream of cookies Oreo Milk, 75 g
- Gelatin, 2 sheets
For coverage
- Oreo cookies, 100 g
- Mint leaves and flowers, to decorate
Instructions
We can substitute the base of biscuits and butter for sponge cakes, or soba’s that we will cut to the size of the bottom of our pots.
This dessert is a surprise for our guests because when we present it to them, they will see a beautiful pot, and they will not think that it is the dessert and even less that it hides a delicious cheesecake with Oreo cookies.
It is a striking and easy-to-make dessert that will appeal to young and old alike.
Making the Edible Cheesecake and Oreo Pots
01: Prepare the base by crushing the cookies
First of all, we must wash the pots very well inside and out to remove any rest since we will use them as food containers. In any case, I have preferred to use new pots, well washed, of course.
We are going to start making the cake by crushing the cookies without the filling cream. To do this, we separate the two black cookies that form the Oreo cookie and remove the filling cream. We reserve this cream to later incorporate it into the cream cheese.
We put all the cookies in a zip-lock plastic bag and crush them by rolling over them. This step can be done with a grinder or a kitchen robot, but with the bag and the roller, they look great, with the earthy look we need.
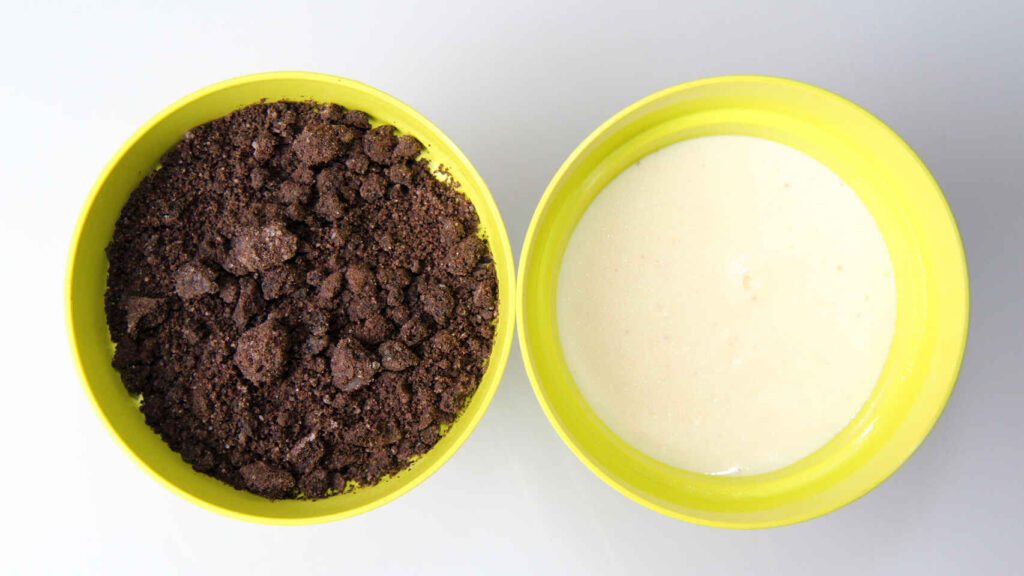
These crushed cookies will serve us on the one hand as the base of the cake, mixing them with the butter, and on the other as the soil from the pot, which we will spread at the end on top.
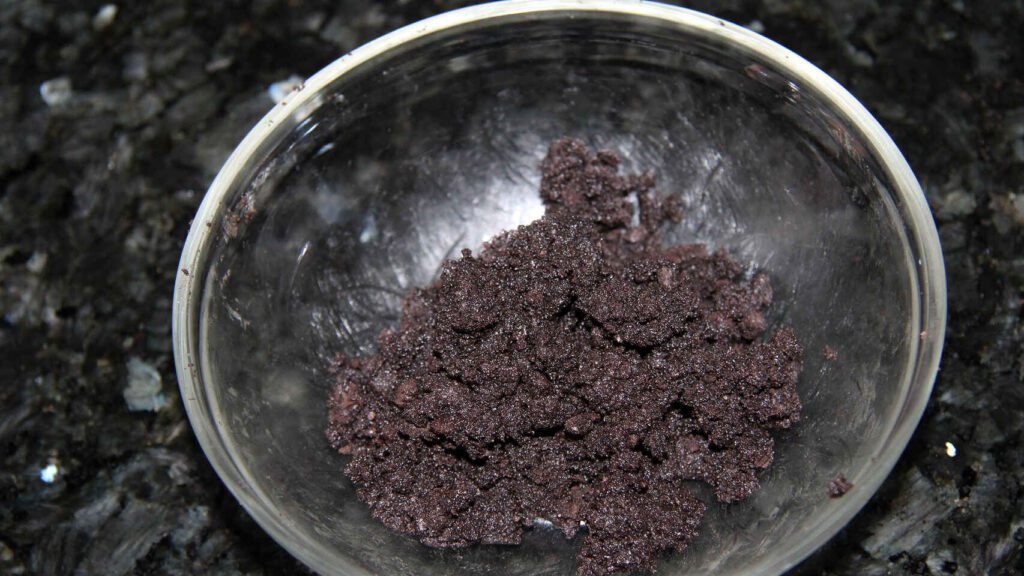
We put a third of the biscuit powder in a bowl and add the butter, which we will have at room temperature. Mix well, as it is best done by hand, and reserve about 10 minutes in the fridge; thus, the mixture will harden as the butter cools. If we present this dessert in real pots, these have small holes at the bottom to drain the plants, and if the mixture is not hardened, part of the cookie base could escape through them.
When we notice the mixture already hardened, we pour a few tablespoons to line the base of our pots. We apply pressure so that the base is well compact; I have used a cork to do it.
We reserve the pots in the fridge while we continue.
02: Make the cream cheese that will serve as a filling
We hydrate the gelatin sheets following the manufacturer’s instructions. In my case, I have soaked them in cold water for 10 minutes.
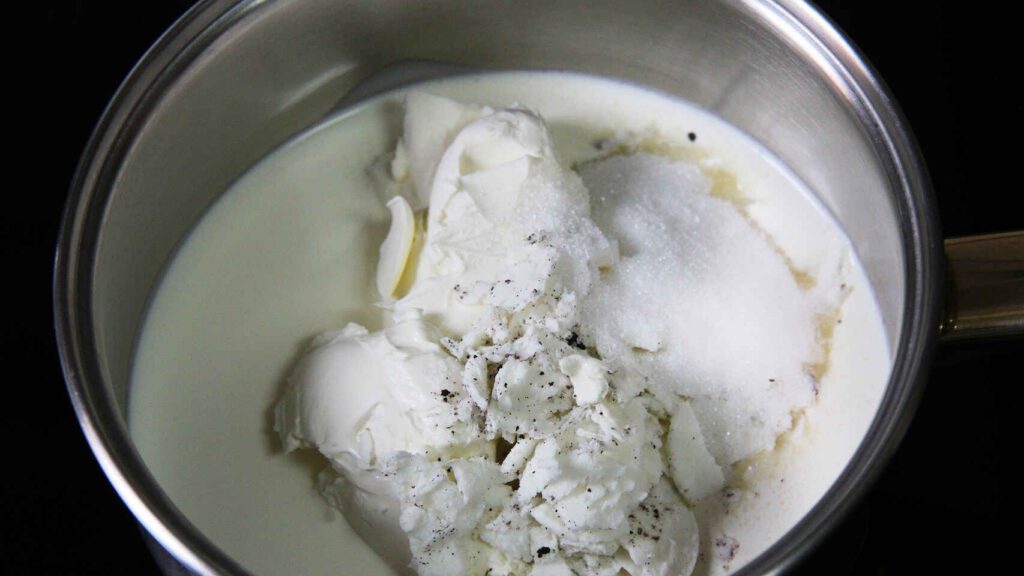
Pour in a saucepan the cream, milk, sugar, spread cheese, and the cream of the cookies that we removed in the previous step.
We put the saucepan over medium-high heat, and we stir with some rods. Add the previously hydrated and drained gelatin sheets. We lower the heat to medium temperature since it is very important that the mixture does not boil, and we continue stirring for a few minutes until all the ingredients are mixed well. When the mixture acquires a creamy and homogeneous texture, remove it from the heat. We let it rest for a few minutes.
When the cream cheese has tempered, we pour it carefully inside the pots, on the base of cookies. I advise you to pour the cream on the back of a spoon to fall more smoothly and the biscuit base does not rise.
We put the pots in the refrigerator to cool, the filling set, and its texture thickens. We let them rest for about 3 hours. If you are in a hurry, you can put them in the freezer for half an hour to speed up the process.
03: Assembling the pots
We take the pots out of the refrigerator and sprinkle them with the crushed cookies that we had reserved, adding a good layer that covers the cream’s white. This layer will simulate the soil in our pots. For effect to be more real, the cookies should not be completely crushed, but some thick pieces simulate clods of earth.
04: Serve the edible pots of cheesecake and Oreo

Before serving our pots, we give them the fun and spring touch, planting some aromatic herbs and flowers in the ground, simulating the field in spring.
Conveniently, we wrap the stems of the flowers with transparent film so that they do not give off any liquid that ruins the flavor of our cream. We will avoid this step if we use plastic flowers, but I prefer natural ones. Ideally, they would be edible flowers, but this time I did not have them, and I used these little flowers of a Kalanchoe and some mint leaves.
They are also very attractive if we decorate them with some mint leaves and some red fruits, such as raspberries or strawberries.
We serve the cheesecake and Oreo in a pot very cold, without saying anything.
Find it online: https://alazharfoodie.com/easy-dessert-recipe-for-dinner-party/